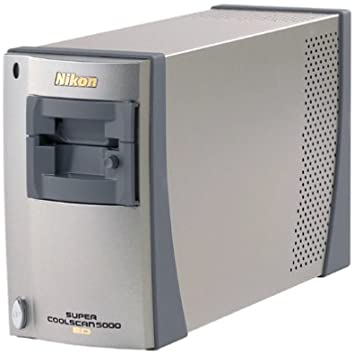
This article shows you how to fix your Nikon CoolScan 5,000 ED Scanner with an easy mirror fix. Save yourself thousands!
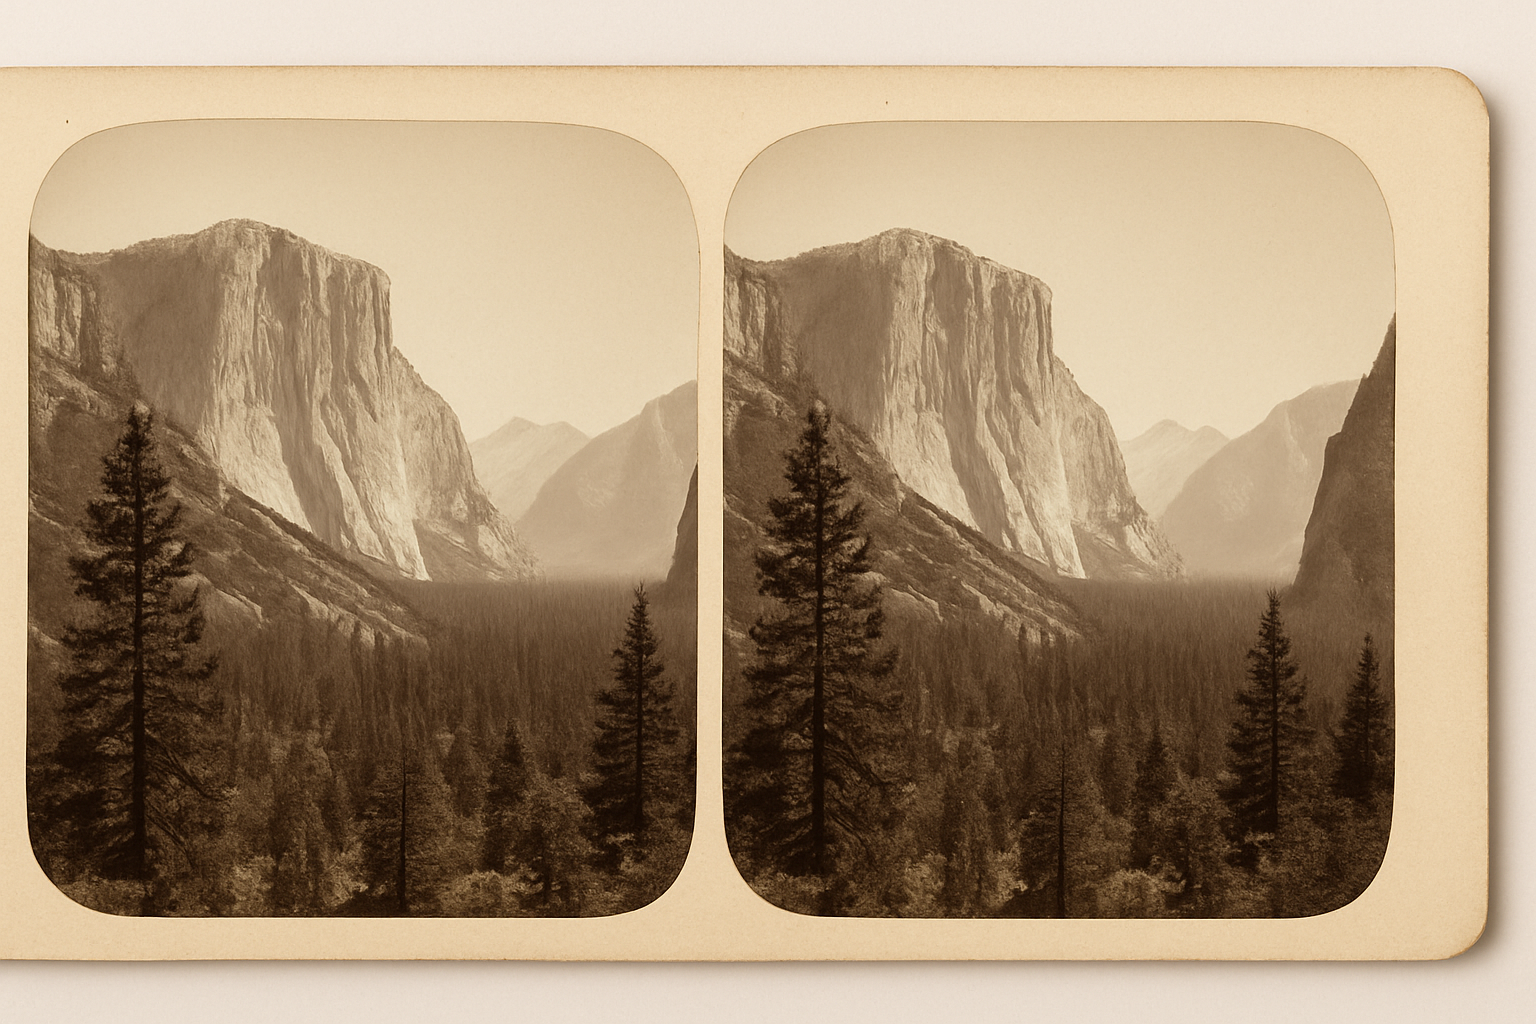
Have you ever wanted to capture the world in three dimensions, just like those vintage stereoscope cards from the 19th century? Stereoscopic images, or stereo images, create the illusion of depth by presenting slightly different views to each eye, mimicking how we see the real world. Today, with smartphones and free software, anyone can make their own 3D images at home. In this post, I’ll walk you through the process step by step, from capturing the shots to viewing the results. Plus, we’ll explore advanced setups using specialized products like those from Optical Mirror to take your 3D experiments to the next level.
What Are 3D Stereoscope Images?
Stereoscope images are pairs of photographs taken from two slightly offset angles—roughly the distance between your eyes (about 2.5 to 3 inches). When viewed properly, your brain fuses them into a single image with depth. This technique dates back to the 1830s and was popularized by devices like the Holmes stereoscope. Modern versions include anaglyph (red-cyan) images for 3D glasses or side-by-side pairs for cross-eye viewing.
Step 1: Capturing the Images
The simplest way to start is with the “cha-cha” method using a single camera—perfect for beginners without fancy equipment.
- Choose Your Subject: Pick something static, like a landscape, object, or portrait. Avoid moving elements to prevent mismatches.
- Take the Left Eye Shot: Stand steady and snap a photo.
- Shift and Shoot the Right Eye Shot: Move sideways about 3 inches (or more for distant scenes) while keeping the camera level and parallel to the subject. For closer objects, a smaller shift works better to avoid exaggeration.
If you have a smartphone, apps like StereoPhoto Maker or 3D Camera apps can automate this. For macro or precise work, use a tripod with a sliding rail.

Step 2: Processing the Images
Once you have your pair, it’s time to combine them.
- Free Software Options:
- StereoPhoto Maker (free for Windows): Import your left and right images, auto-align them, and export as side-by-side, anaglyph, or even animated wiggles.
- Photoshop or GIMP: Align the images manually on separate layers. For anaglyph, set the left image to red channel only and the right to cyan (green + blue).
- AI Tools: Use InvokeAI or Stable Diffusion to generate stereo pairs from a single 2D image by shifting perspectives artificially.
2. Alignment Tips: Ensure horizons and key points match vertically. Crop if needed for a clean pair
I am text block. Click edit button to change this text. Lorem ipsum dolor sit amet, consectetur adipiscing elit. Ut elit tellus, luctus nec ullamcorper mattis, pulvinar dapibus leo.
Step 3: Viewing Your 3D Images
Viewing is where the magic happens!
- Anaglyph Glasses: Cheap red-cyan glasses turn your processed image into instant 3D.
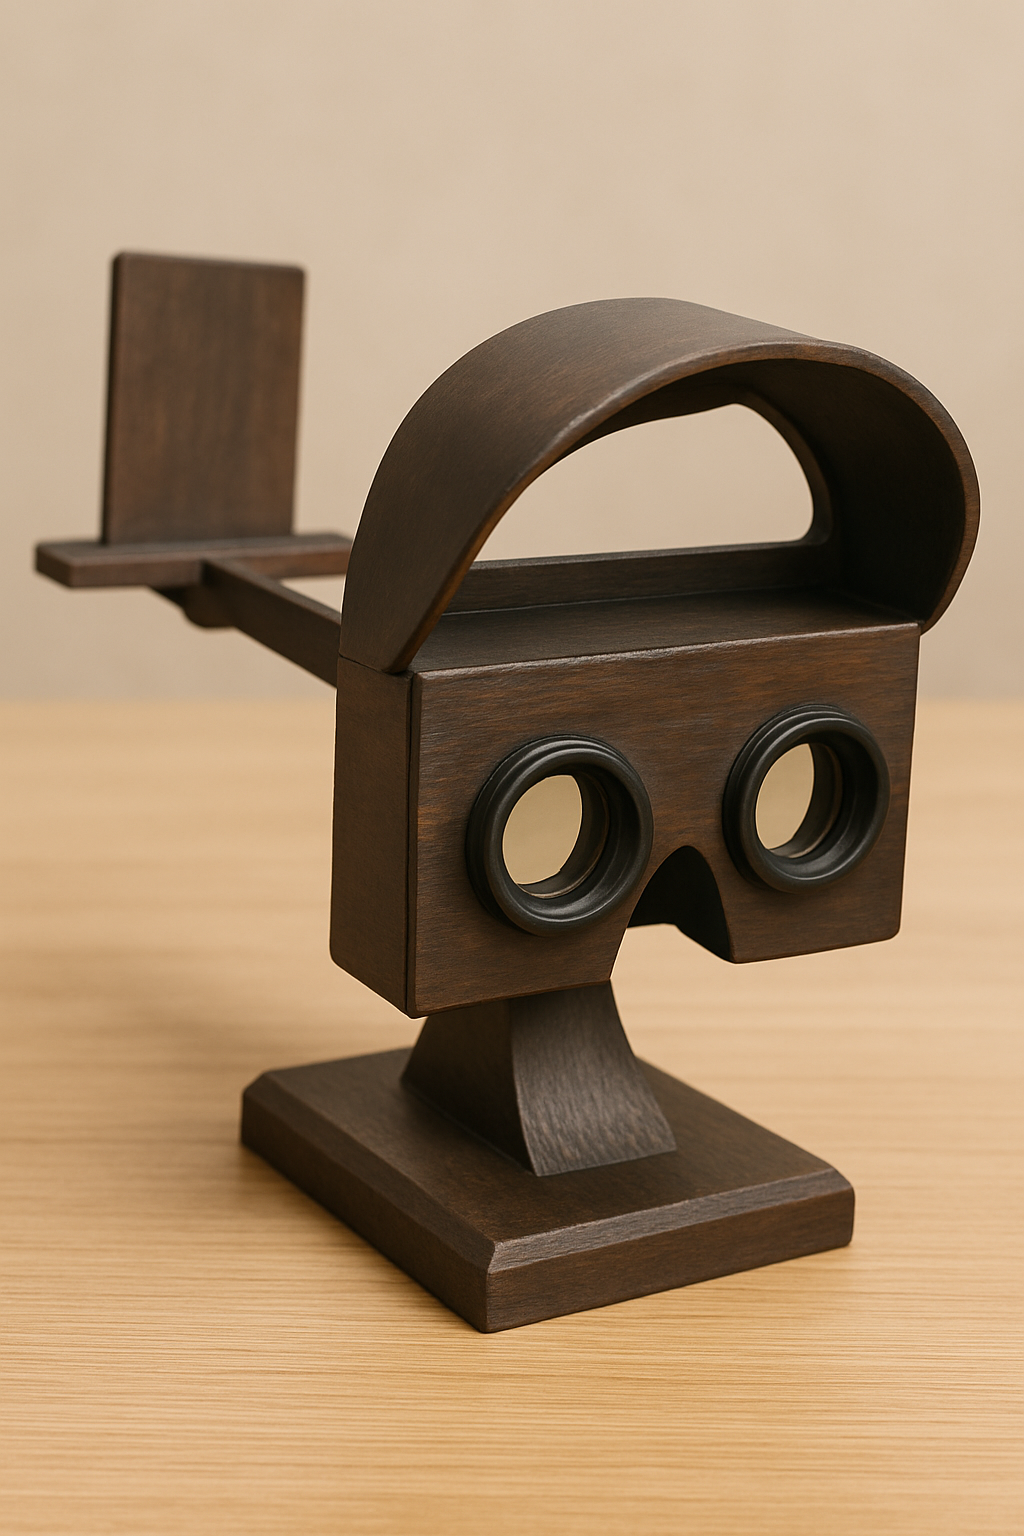
- Stereoscope Viewer: Print your pair on cardstock and use a classic viewer, or a modern phone-based one like Google Cardboard.
For video tutorials, check out YouTube guides on single-camera stereo photography.
Advanced: Building a Pepper’s Ghost Setup with Stereoscopic Mirrors
For a more immersive 3D experience, consider creating a Pepper’s Ghost illusion—a holographic-like effect using a beamsplitter mirror. This combines a reflected image with a transmitted one, perfect for displaying your stereo images or videos in a floating 3D space.
We offer optical-grade Stereoscopic Mirrors (beamsplitters) made from low-iron glass with a 50/50 reflective-transparent coating to minimize tint and ghosting. These are easy to clean, and shipped quickly.
To set it up:
- Place the mirror at a 45-degree angle between a display (showing your stereo image or video) and a dark background.
- Light the reflected subject evenly to create the illusion of a 3D hologram.
This technique is used in theme parks and can handle high-res 8K content.
Making your own 3D stereoscope images is a fun, accessible hobby that blends photography, tech, and a bit of optical wizardry. Start simple with your phone, experiment with software, and level up with custom viewers using products like the Stereoscopic Mirrors. Share your creations online—who knows, you might inspire the next generation of 3D enthusiasts! If you try this, drop a comment with your results.
Related Posts
Comments (0)