Have you ever wanted to capture the world in three dimensions, just like those vintage…
This Blog Post will guide you STEP-BY-STEP on how to cut, etch, and sandblast mirrors. In this project, we etched a front surface mirror to create a futuristic, sandblasted clock. We made a video of the entire project to show exactly how to do it.
The blog post will take you step-by-step on how to cut a circle out of glass. Then, it will guide you through the sandblasting techniques!
Why would you want to Sandblast?
Today, I’m going to show you how to create a frosted effect in glass created by sandblasting, with a few other ways to partially remove mirror coating. The glass I’m using today is a First Surface Mirror which is used in Engineering, Optics, and Beauty, for a precise reflection that’s super accurate and glamorous!
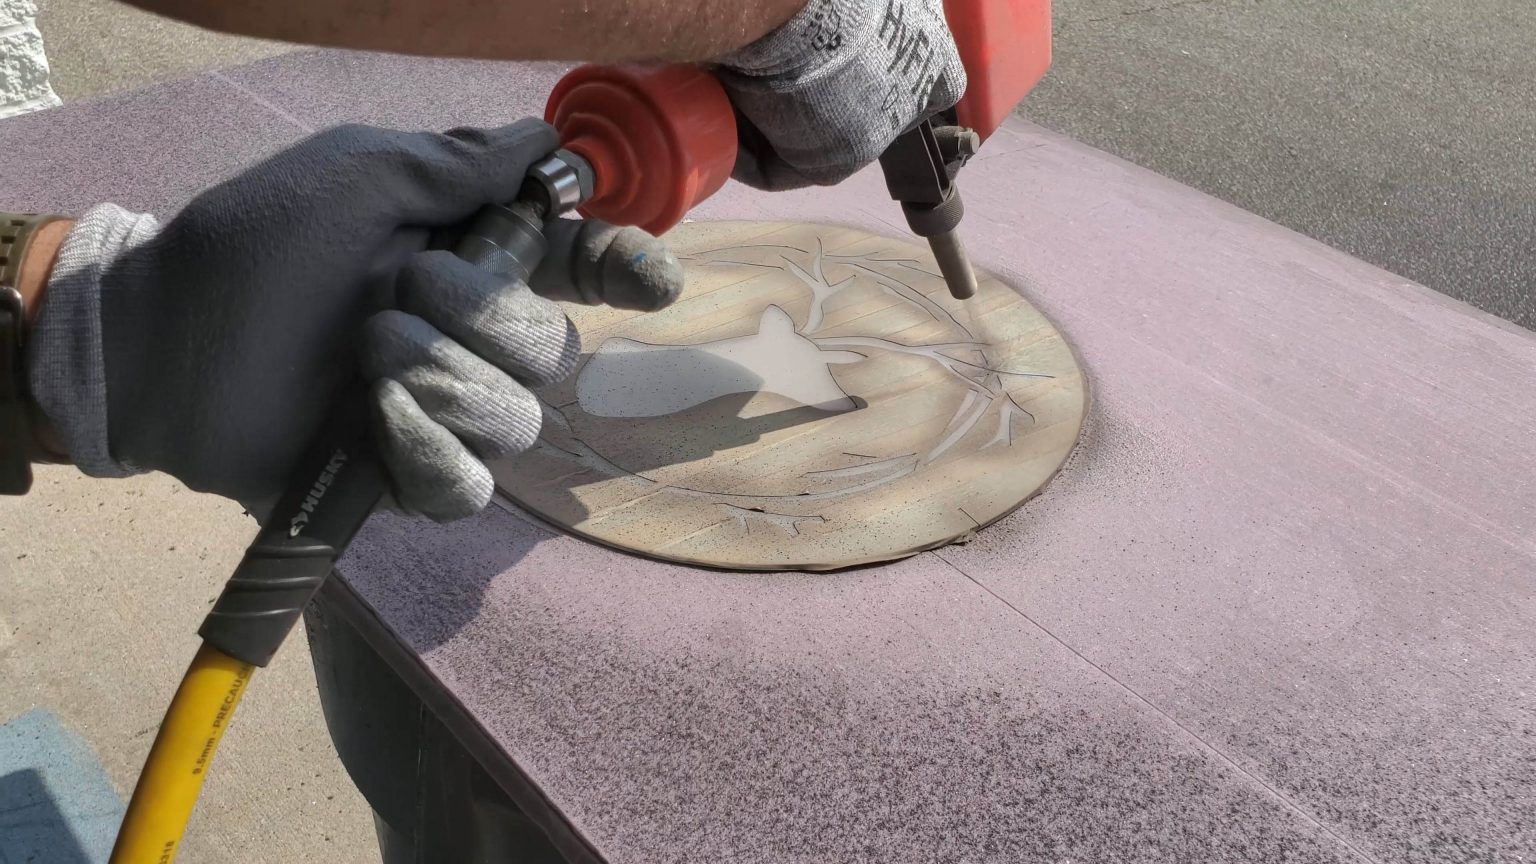
There are many reasons why you would want to etch a mirror!
For example, creating a line in glass can be used for targeting & navigation systems in aerospace, or for fabulous applications such as creating a “Lighted Mirror” effect for vanity Smart Mirrors. You can also enlighten art installations, and high performance makeup mirrors to see your true, fabulous self! Or, you can simply use it to decorate your home or local business!
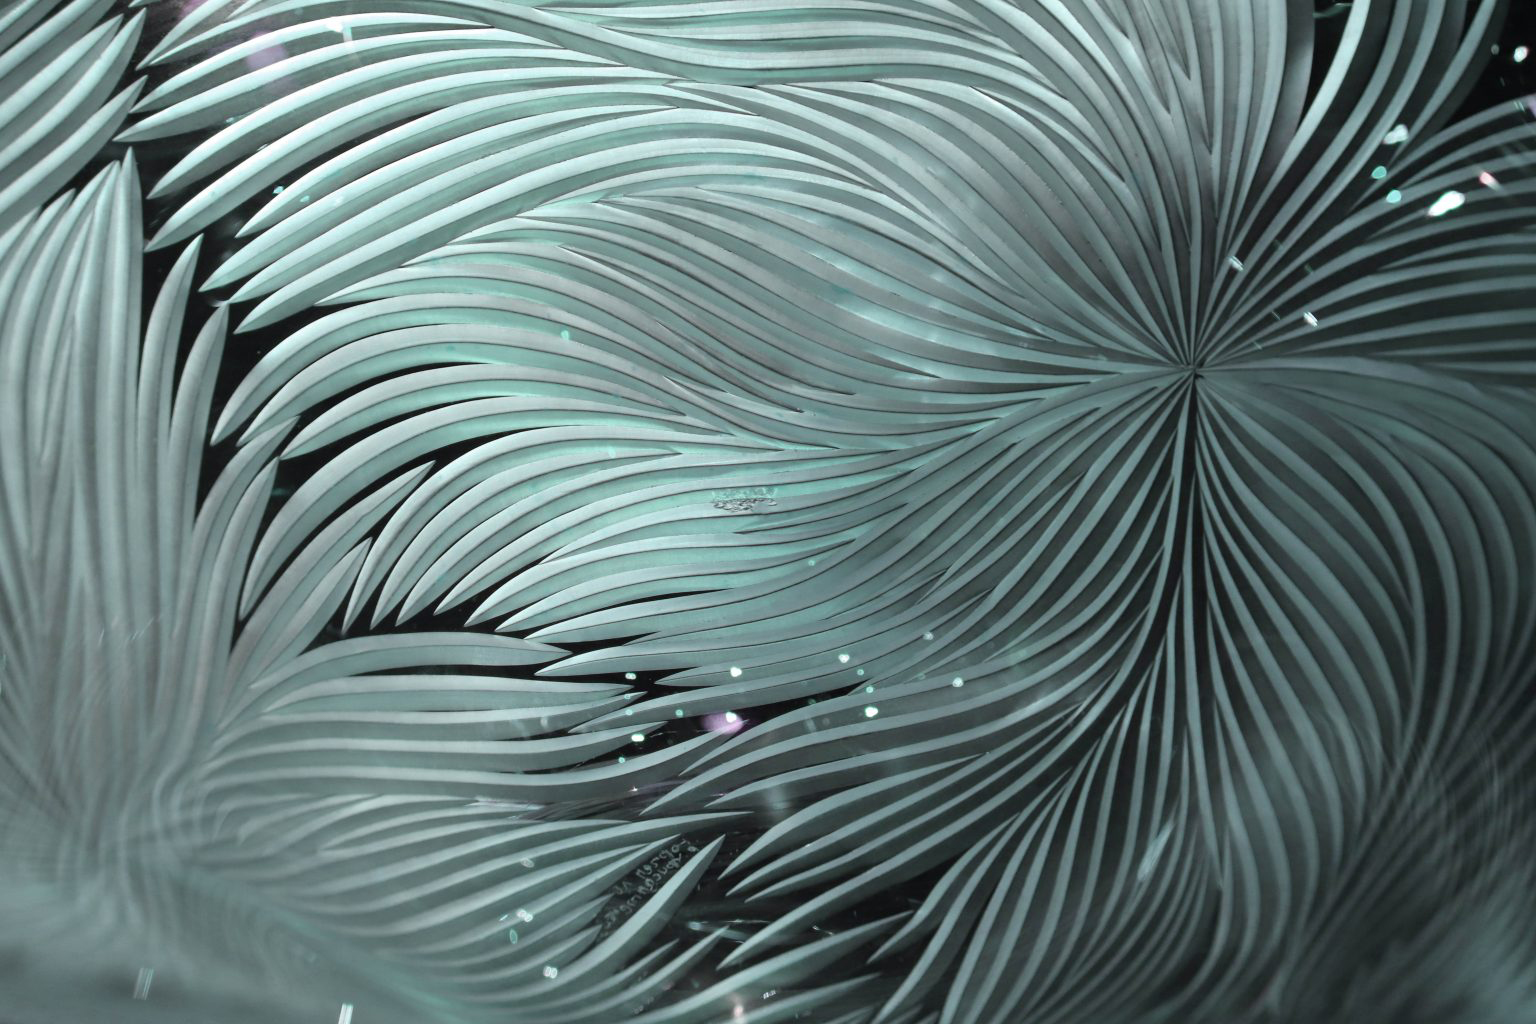
First, let’s take a little bit of time to explain what sandblasting actually is. Sandblasting creates an elegant frosted effect without using paint. An abrasive material is blown using compressed air to etch the surface that’s going to be blasted. Pretty cool, right?
Sandblasting can be used to create striking architectural design, such as hospitality spaces, gyms, and medical buildings. It can provide privacy and discreet, recessed lighting.
What is a First Surface Mirror?
This is the type of mirror we chose to use for our DIY Wall Clock Sandblasting Project.
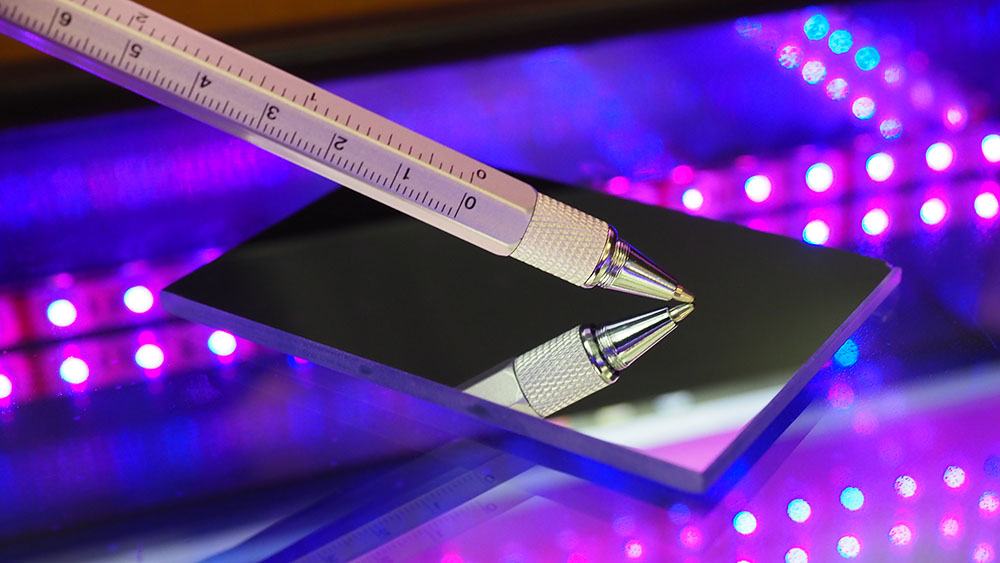
A first surface mirror, also known as front surface mirror, is an optical mirror providing superior accuracy for engineering and scientific applications. Unlike a standard mirror, which has the coating on the back side, a first surface mirror provides a true reflection with no double image.
Now that you have the basics down, lets start sandblasting!
Materials Needed
- First Surface Mirror
- Tape Measure
- Sharpie
- Sandblasting Gun
- Sandblast Hose
- Aluminum Oxide
- Handheld glass cutter
- Safety Glasses
- Safety Gloves
- Circular Glass Cutter
- Handheld Sand Sponge
- Face Mask
- Masking Tape
- Scraper and X-ACTO Knife
- Glass Cleaner
- Microfiber Cloth
Below are some of my favorite stencil designs. You can use any stencil design you want, but you can use these for inspiration!
Step 1: Safety
The first step to any glass project is to put on safety gear! Grab your glasses and gloves, then we can start!
Step 6: Cut the Excess glass
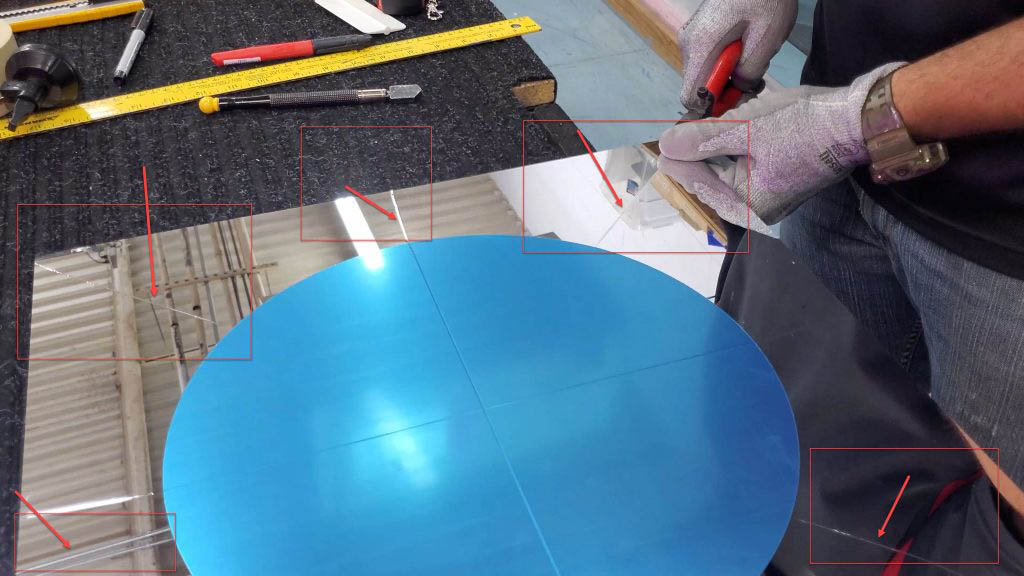
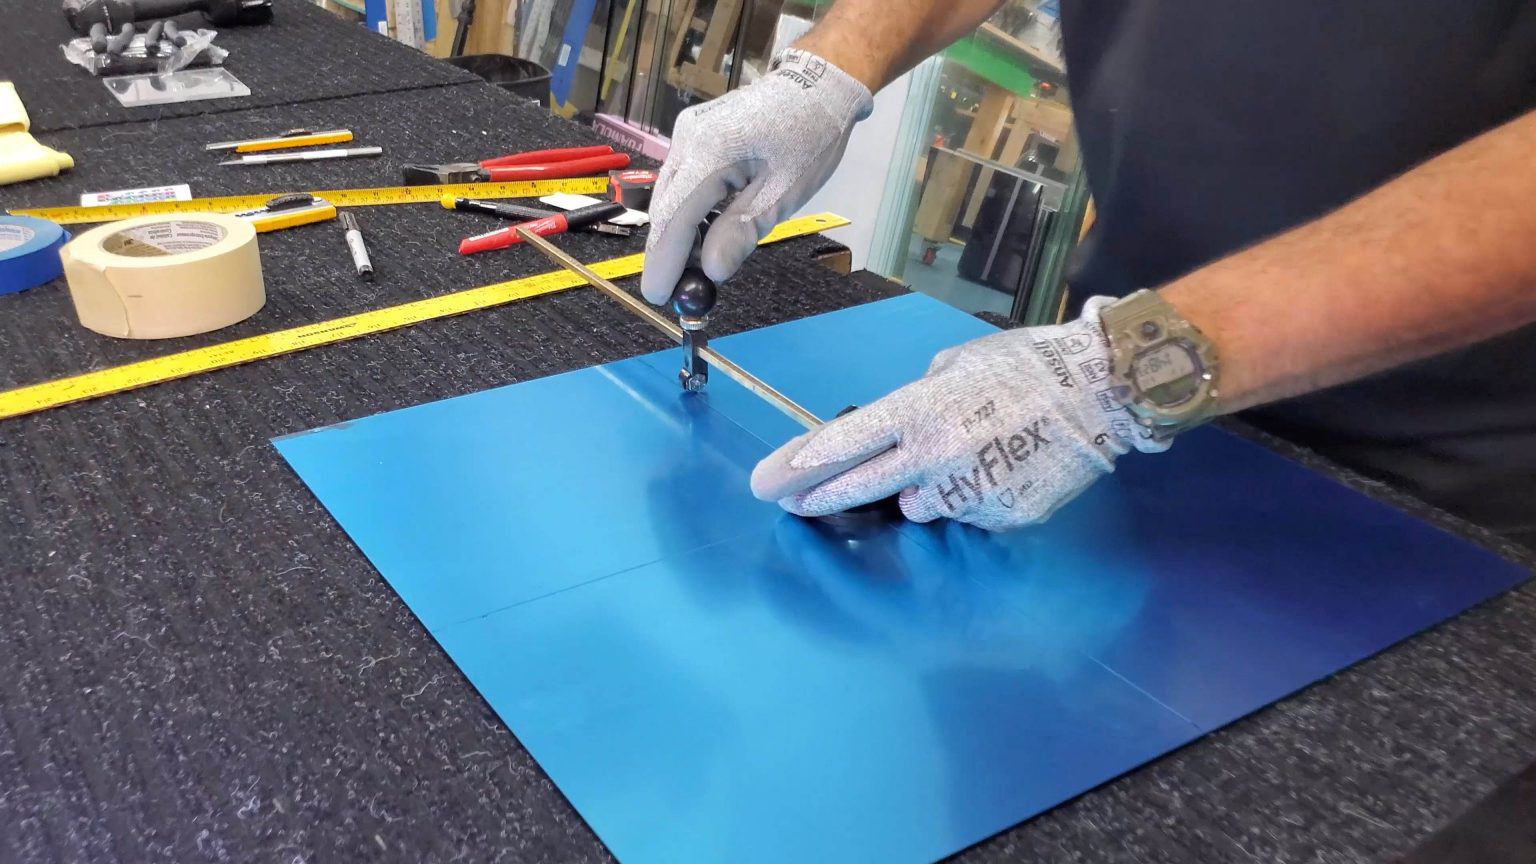
Cut off the excess glass by placing a score line from the circle to the outer edge. Use a handheld glass cutter to do this. Do it on all four sides and corners. DO NOT cut INSIDE or on the circle. Only cut the excess glass.
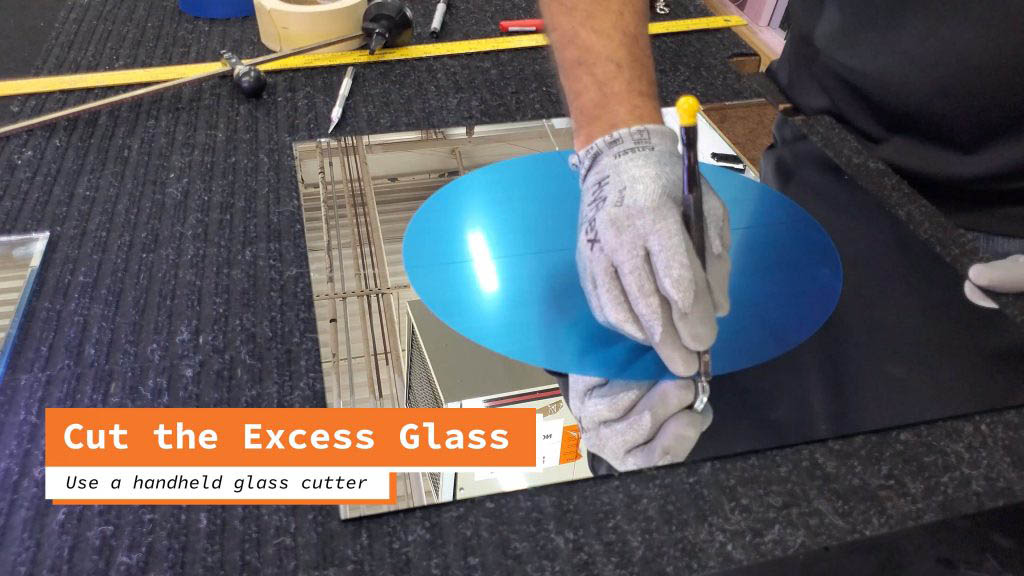
It should look like this.
Step 7: Break Off the Excess Glass
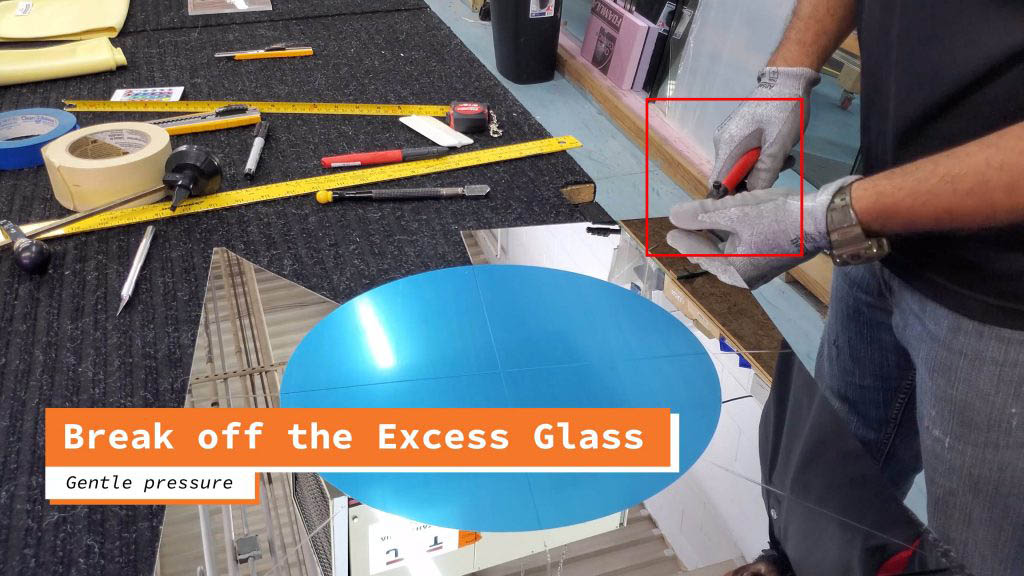
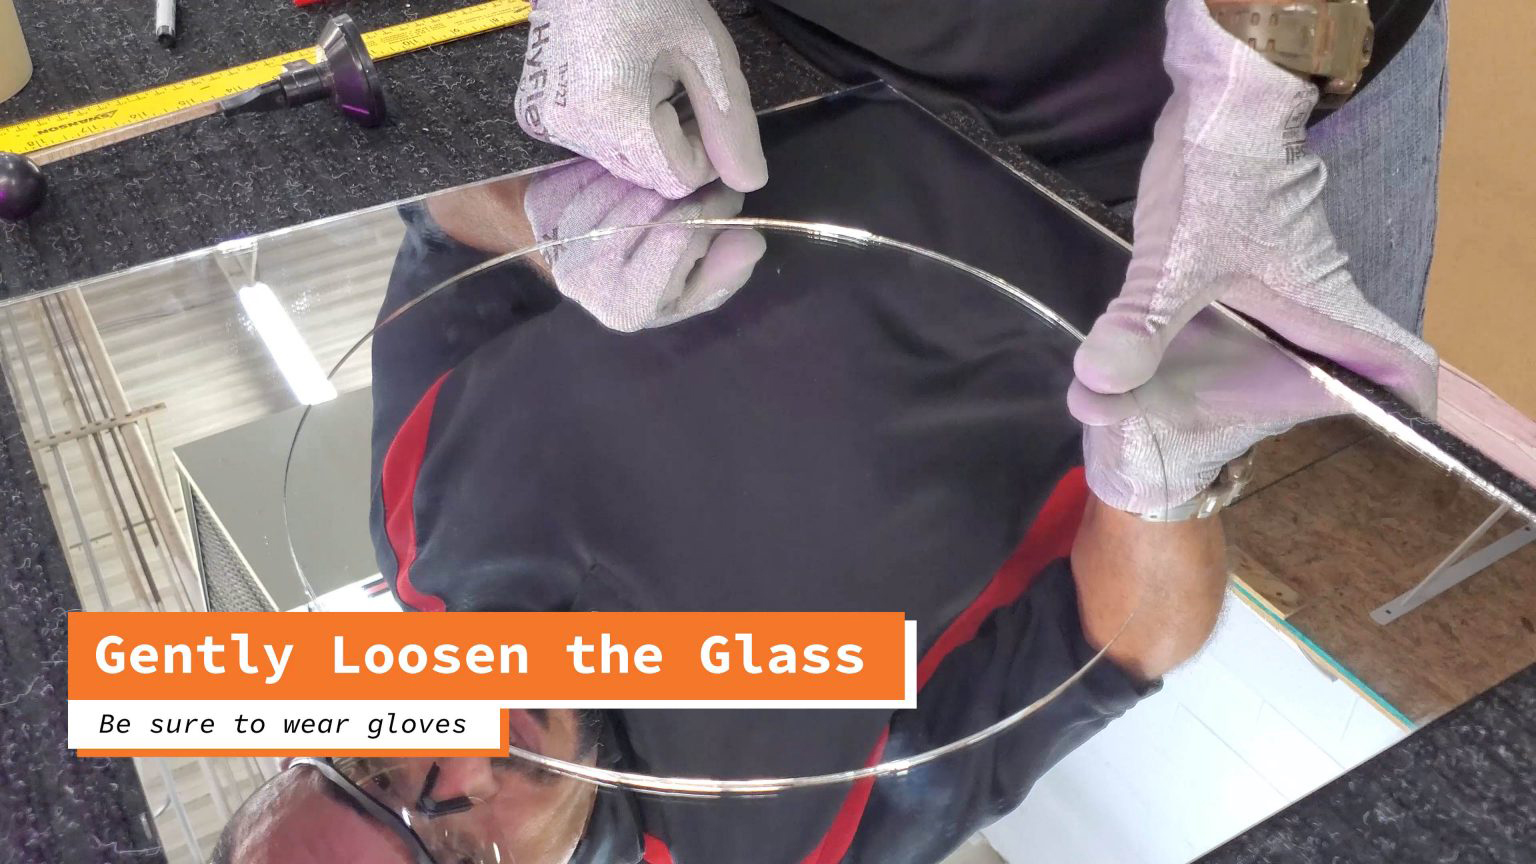
Use glass pliers to break off the excess glass. First, you will want to make sure your pliers are even with the thickness of the glass. To do this, place the pliers on the glass, and twist the knob until the pliers and glass are at the same thickness. Then, align the score line with the line in the middle of the pliers, and gently press down.
Step 8: Apply Masking Tape and Comb it Down
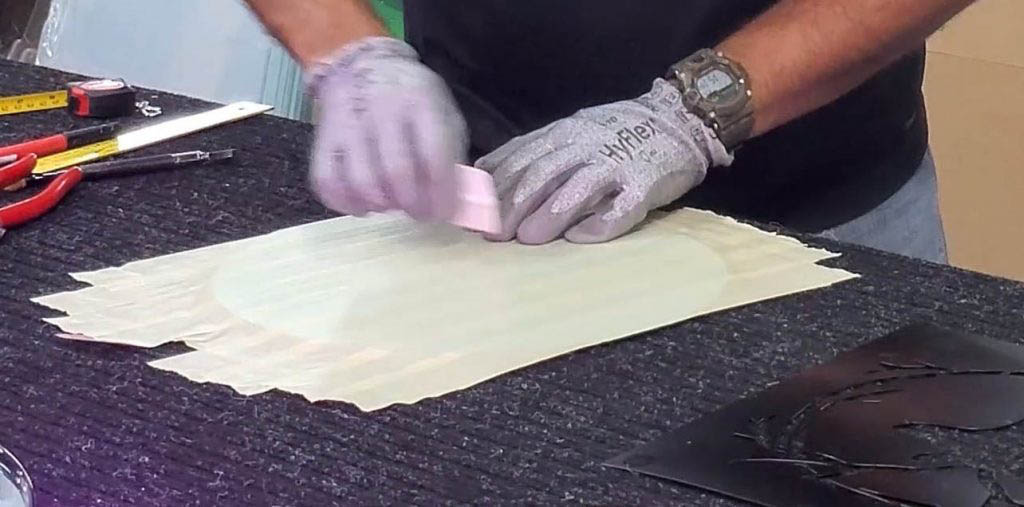
Apply masking tape to the side of the mirror with the laminate. Then, comb down the masking tape with a scraper tool or a credit card to make sure all of the air bubbles are released.
Step 9: Line Up the Template
Line up the template to the middle of your mirror.

Step 10: Tape Down The Template
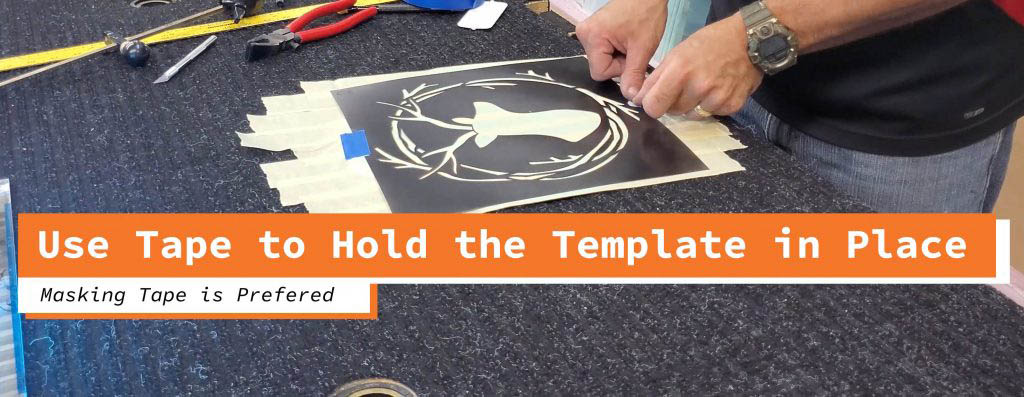
Use tape to hold the template in place. You will want to tape from each side so your template does not move.
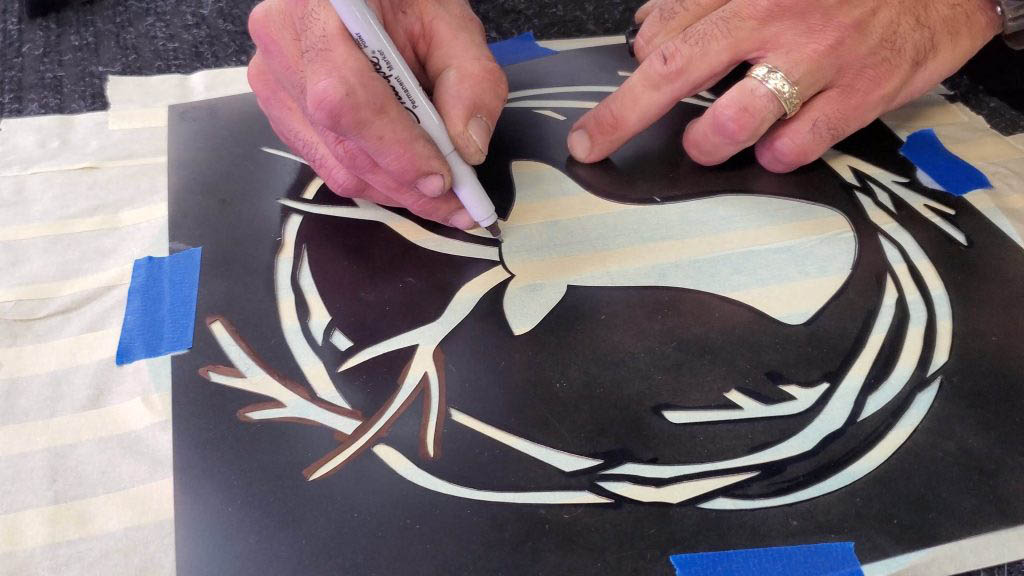
Step 11: Trace the Inside Lines
Trace inside the lines of the template with a fine-tip marker.
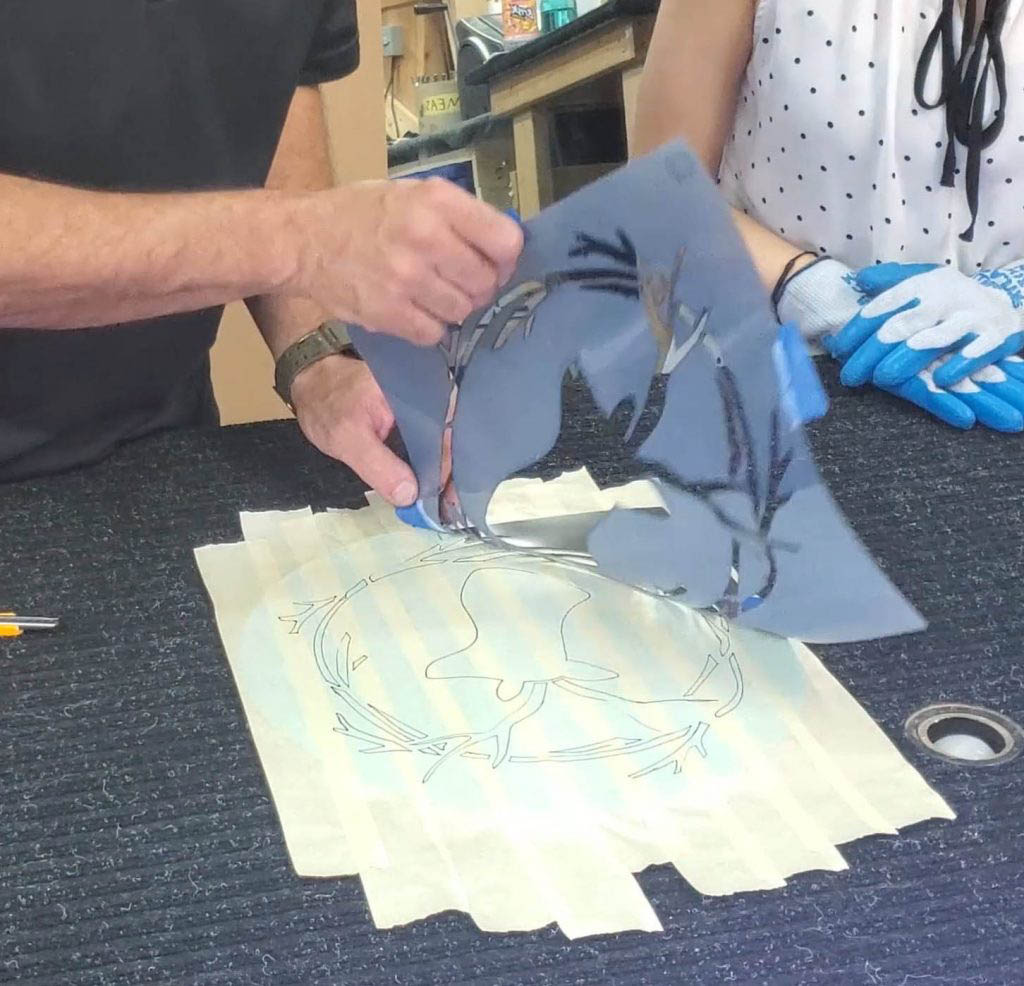
Step 12: Remove the Template
Simply remove the template from the mirror.
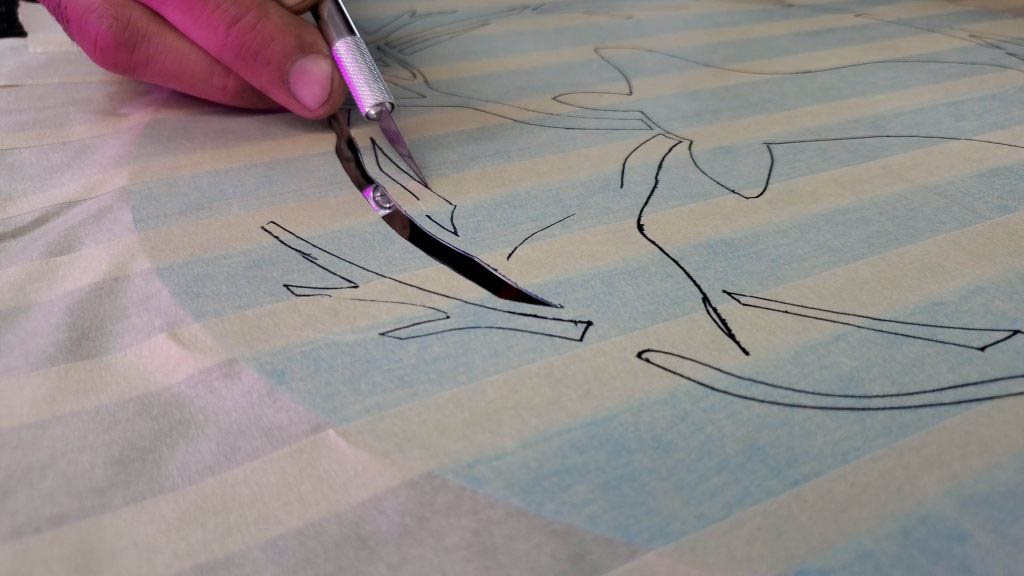
Step 13: Cut the Lines
Use a 35 Degree X-ACTO knife to trim and cut over the lines that you made from the template. You will also be cutting out the laminate.

While you are cutting the tape, be sure to keep your X-ACTO knife at a 35 degree angle.
Step 14: Trim the Excess Tape
Trim off the excess tape using the X-ACTO knife.

Step 15: Sandblasting
After you remove the excess tape, put together your Sandblaster!
We like to use the sandblasting gun “SpeedBlaster Gravity Feed Media Blaster”. You can purchase it from the “Materials” list at the beginning of this blog. We fill our sandblaster with Aluminum Oxide, and use a compressed air hose.
Once you have your sandblaster all set up, you will want to make a table or stand to set your mirror on. You will want to do this outside, or somewhere where it wont damage anything.
Then, put on your face mask to protect your entire face from any debris that might get near you and lay your mirror on the table.
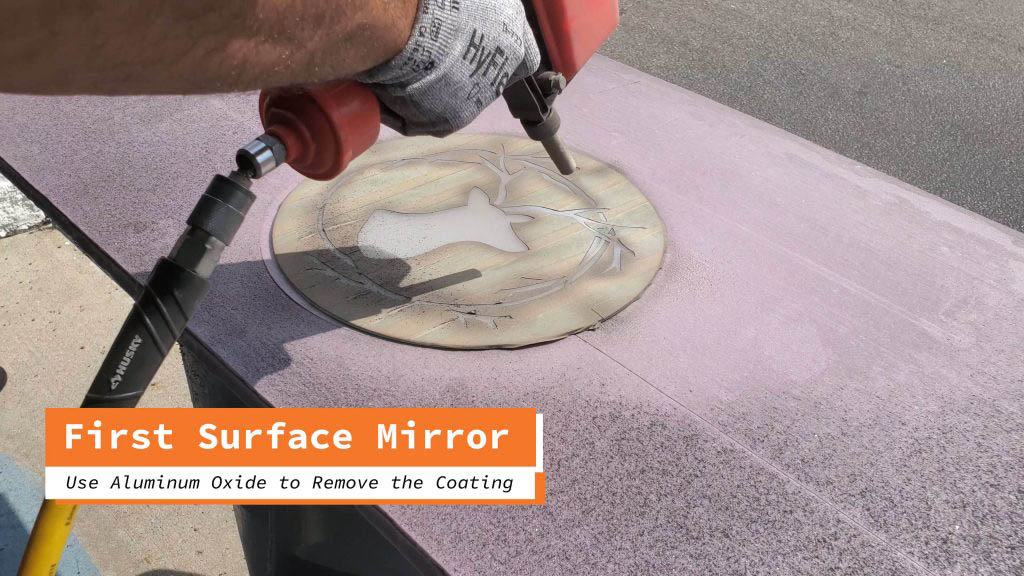
You will want to spray your sandblaster about six (6) inches away. Spray evenly across the mirror.
This process is removing the mirror coating. So, it is important to leave the tape covering any parts of the mirror that you don’t want sandblasted.
Step 16: Bring the Mirror Back Inside
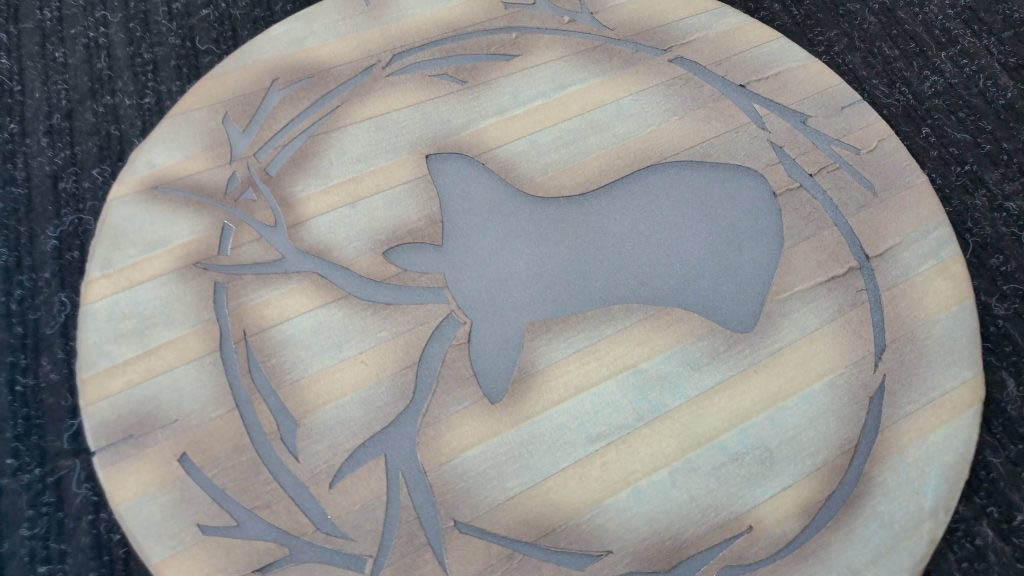
Once you’ve finished sandblasting, be sure to bring the mirror back to your work area. It should be evenly coated like this:
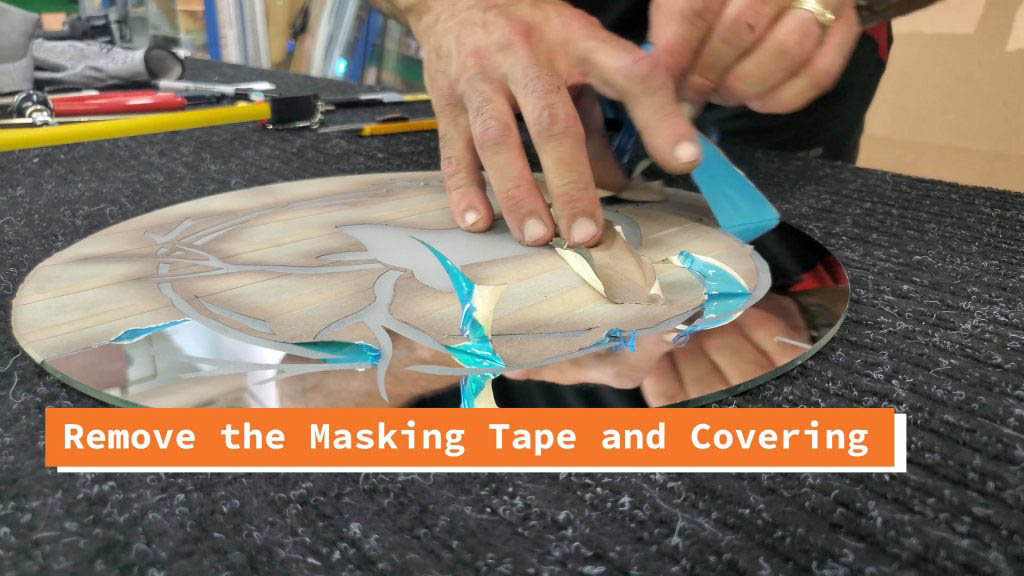
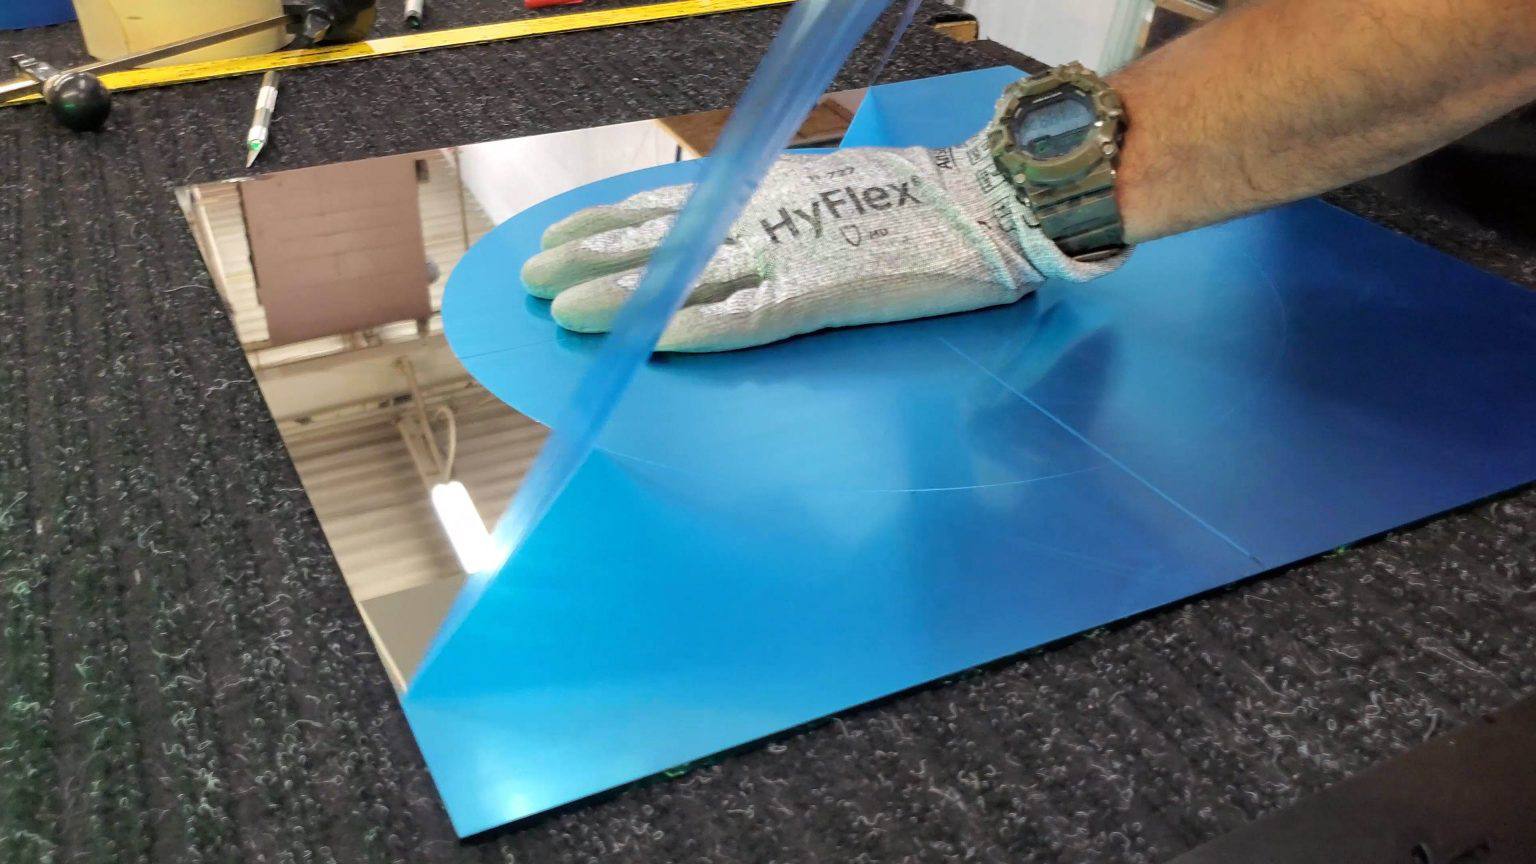
Step 17: Remove Tape and Laminate
Now, you can remove the tape and the laminate underneath to reveal your Sandblasted Creation!
Step 18: Drilling the Hole
Drill a hole into a piece of acrylic.
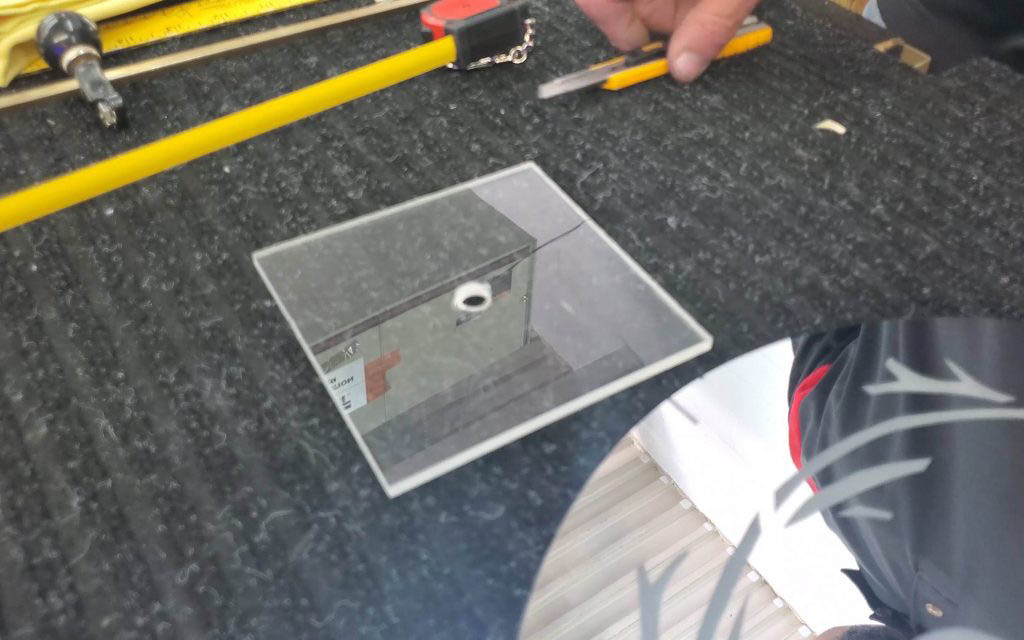
Step 19: Place Clay on the Acrylic
Place clay on the acrylic. This will act as a reservoir when you are drilling the hole into the mirror. Make sure the clay is all the way down, and that all the corners are touching and packed together.

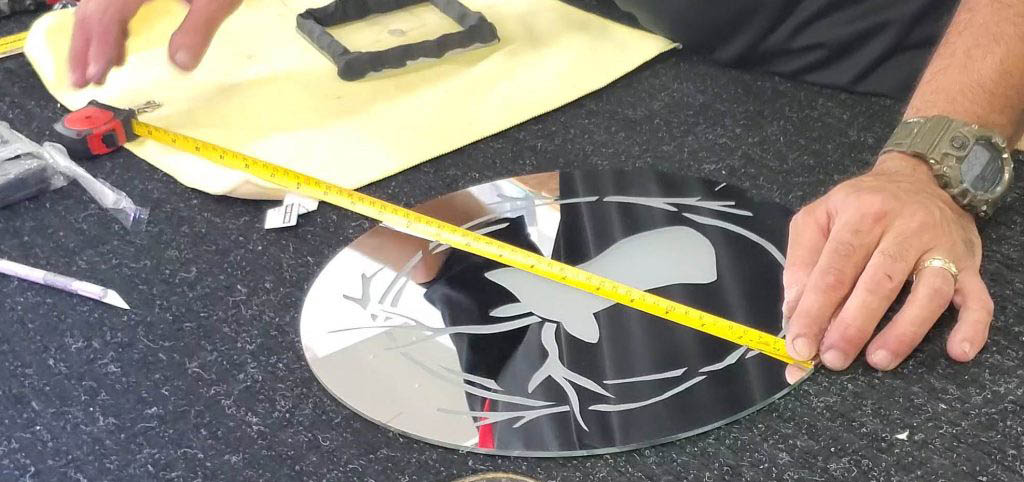
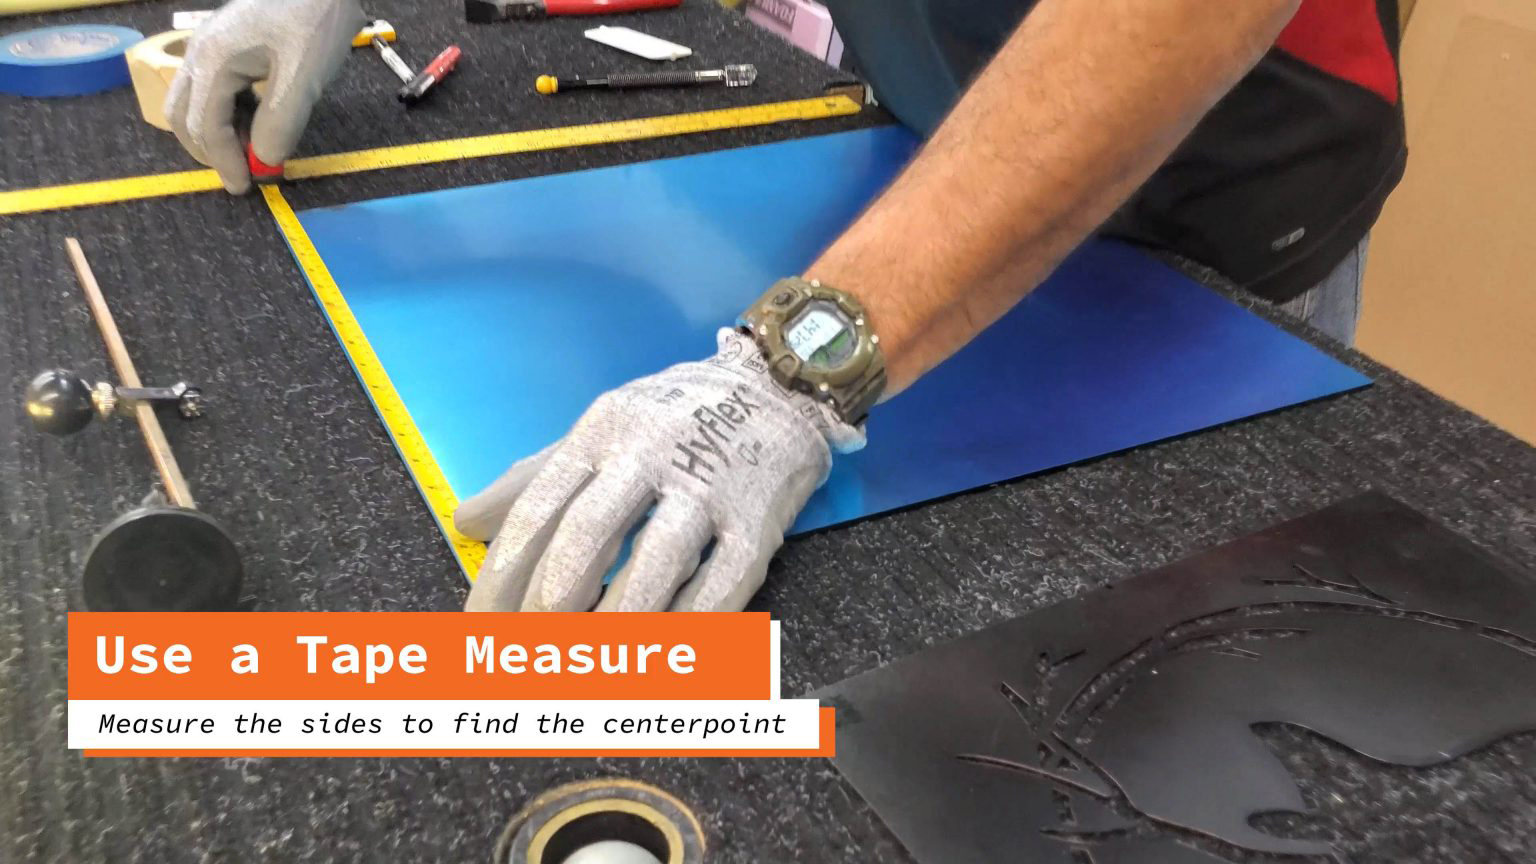
Step 20: Find the Center Point
Use a tape measure to find the center of the mirror. You will want it to be as accurate as possible, because this is where you will be drilling the hole for your clock. Feel free to make a dot with your marker, since you will be drilling through it anyways.
Step 26: Clean the Mirror
Finally, all you have to do is clean the surface of your first surface mirror! Use an ammonia free cleaning spray (or a lens cleaner) and a microfiber cloth.

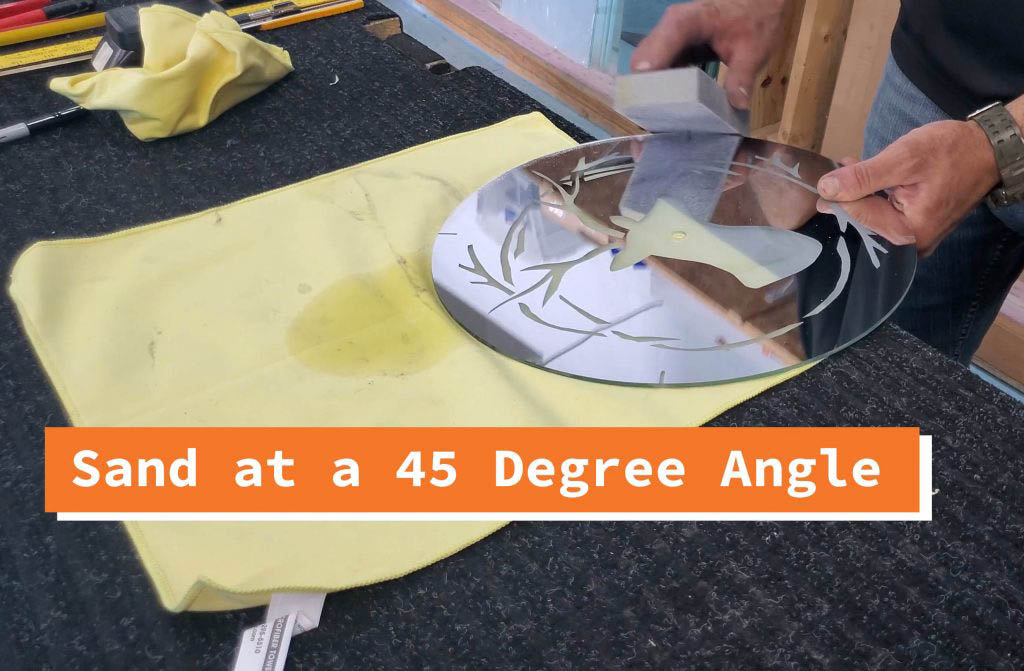
Step 24: Sanding
Grab your sanding block, and sand at a 45 degree angle. Be sure to sand both sides.
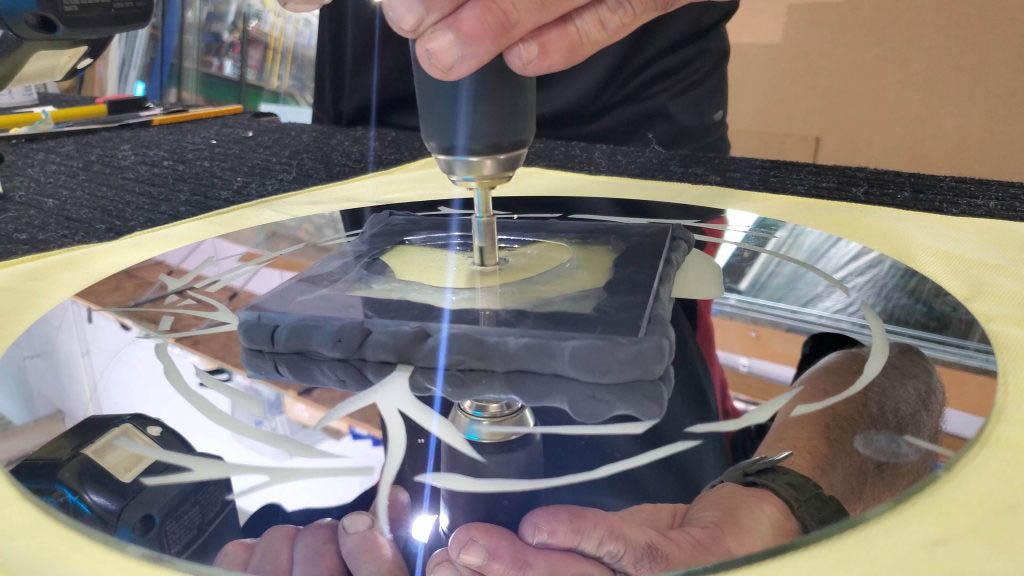
Step 23: Drill
Use a glass drill-bit to drill into the mirror. Apply light pressure while drilling.
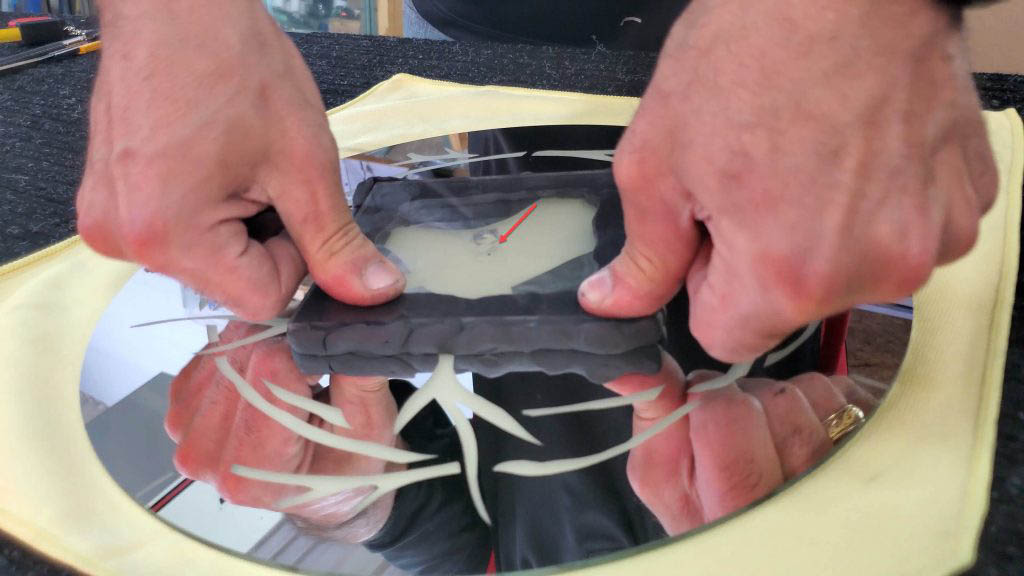
Step 22: Add Water
Add water into the hole of the acrylic.
Step 21: Apply the Acrylic to the Mirror
Apply the acrylic to the mirror with firm pressure. Press down the acrylic until it is fully secured.


Comments (0)