Have you ever wanted to capture the world in three dimensions, just like those vintage…
Cutting glass is a delicate process that requires specific tools to ensure that the jobs done safely and accurately. Based on our expertise in the glass and mirror manufacturing industry, we’re going to give you professional tips to make sure you’re prepared for your glass cutting adventure!
Recommended tools:
- Glass/Mirror
- Gloves
- We prefer Maxiflex gloves
- Morton Glass Cutting System
- A simple straightedge will work as well
- Marker
- Glass Scoring Tool
- Running Pliers
- Sanding Block
Safety First!
Before you start cutting your glass, you’re going to want to have a pair of gloves. After the glass is cut, the edges tend to be very sharp. If you grab the glass from the wrong angle, it could result in an injury very easily. We recommend using Maxiflex gloves, as they’re extremely flexible which allows better precision when working with the glass. This being said, any pair of glass gloves will do the job as long as your hands are protected from sharp edges.
Cutting the Glass
When you’re cutting a first surface mirror, you’re going to want to make your cut on the side with the laminate for a cleaner cut. If you’re just cutting a piece of standard glass, either side will do.
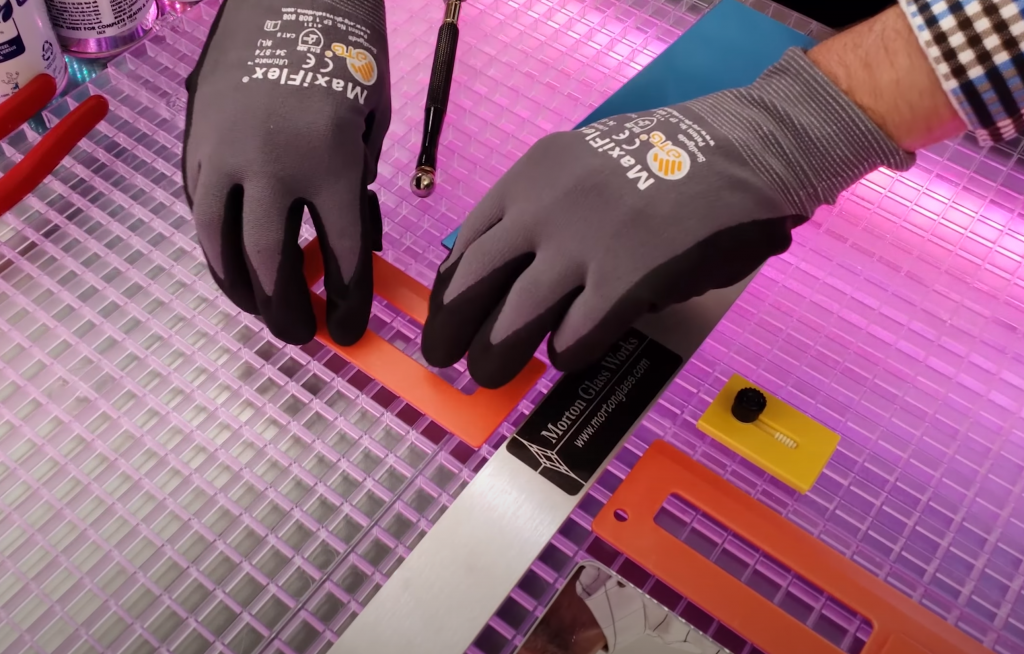
We recommend the Morton Glass Cutting System, simply because it makes things easier. It has a waffle grid that allows you to clip in pieces to hold your mirror/glass in place. This is ideal for when you’re making the same cut on multiple pieces of glass because the clip in pieces act as a placeholder.
If you don’t have access to a Morton Glass Cutting System, make sure some kind of straightedge is in play to keep your line straight and clean.
Figure out where your glass needs to be cut, and make small marks with a marker. After this, line your straightedge up with the marks you’ve made, making sure that it is completely straight.


Now you’re going to need your glass scoring tool. When you’re lining your scoring wheel up with the line, keep in mind that there’s a bit of a gap between the head and the edge of the tool. When you put put it down to cut, you just have to account for that little bit of extra space between the score wheel and the straightedge.
Now its time to cut your glass! You’ll want to hold the scoring tool so the longer angle/longer edge is going towards you. Angle your scoring tool and lightly hold onto the glass so it doesn’t move.
Then from the very edge of the glass, apply firm pressure with the scoring tool until you hear a scoring sound and drag it towards you. If it sounds like nails on a chalkboard, then you’re doing it correctly!
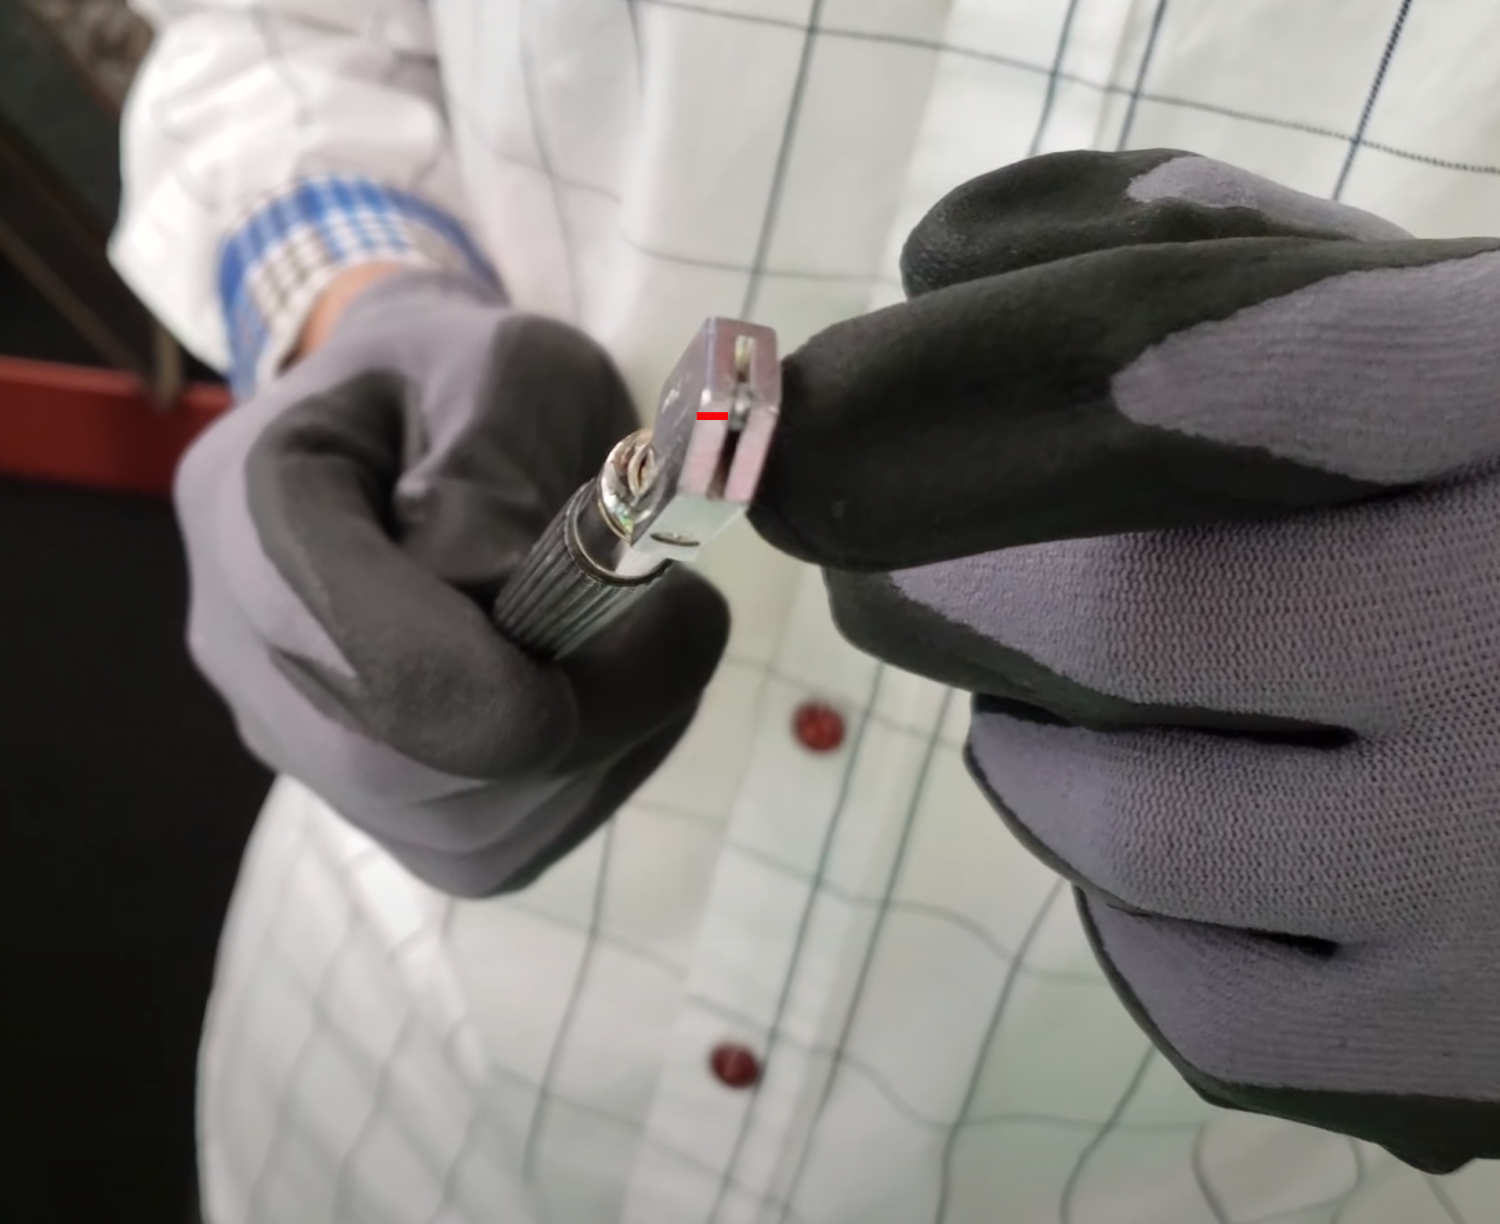
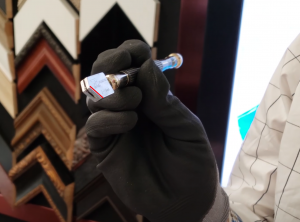
Next you’re going to get your running pliers. There is a line in the middle of the clamp that lines up with the score line. Once you have the lines matched, apply pressure by squeezing the handles and this snaps the glass.
You aren’t finished yet though!
Post-Cut
For safety reasons, the next step will be to take your sanding block at a 45° angle around every edge of the glass. This puts a slight bevel on the glass, taking the sharp edges away.
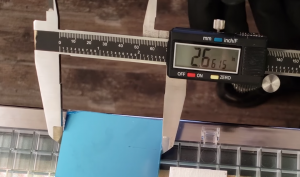
To finish your piece, you’re going to use a digital caliper to measure the glass. Simply turn the caliber on, select inches or milometers, and zero it out. The last step is to slide the metal pieces to the exact height and width of your glass, and VOILA, you’re done!
Some might be wondering why you cant just measure the glass with a ruler, and to that I say: You can. However, the digital caliber is going to give a much more precise reading, making your measurements spot on.
Cleaning the Glass
If you’re removing dust/debris that has found its way to your mirror, a compressed air duster is perfect! This will knock the debris off the mirror, while wiping it with a cloth would be dragging the particles across the surface.
Make sure that when using the duster, you are holding it upright and NOT at an angle, as this could leak harmful coolant onto the mirror’s delicate surface
If you’r trying to get fingerprints/oil off the surface, spray some isopropyl alcohol (lens cleaner) onto the glass and wipe it with a microfiber cloth or Kimtech wipe.
When wiping the surface, try to rotate the cloth so a clean side is on the glass for each wipe. Otherwise, debris from the last wipe could go back onto the glass and scratch it.
Transport/Protection
If your optics are already installed and need protection, you can use something called Pre-Cote 33. This is a special kind of spray paint that applies a blue laminate to the surface. Its really simple to apply!
- Lay optics in well ventilated area or outside
- Spray surface from 6-12 inches away
- Get an even coating and let it dry
- Do this a minimum of 3 times for a thick, protective layer of laminate
- To remove, put tape over the laminate and then peal it back from the surface
Related Posts
Comments (0)